Kerangka
Kenali kondisi
sebelum Anda membawa risiko.
REZIME adalah kerangka partisipasi dasar untuk orang yang memang berniat berada di pasar. Bukan jalan pintas. Ini urutan berpikir.
Kerusakan terbesar biasanya bukan karena “salah”. Kerusakan datang saat kita membawa risiko pada kondisi yang instabil.
REZIME melabeli kondisi terlebih dahulu, supaya aktivitas Anda sesuai dengan kondisi yang sedang terjadi.
Kondisi
Anda sedang berada di kondisi apa. Stabil, Instabil, atau Reset.
Kondisi dulu. Metode kemudian.
Kepercayaan
Stabil memberi ruang untuk sabar. Instabil menurunkan kepercayaan. Reset berarti bangun ulang konteks.
Kepercayaan mengatur seberapa banyak Anda melakukan sesuatu.
Aktivitas
Saat kepercayaan rendah, aktivitas mengecil. Keputusan lebih sedikit = kesalahan yang bisa dihindari lebih sedikit.
Restraint adalah skill.
Mode 1
Mode Bertahan
Default. Satu timeframe utama.
Dasar
Belajar dengan aman sebelum mencoba timing
Mode Bertahan adalah fondasi. Satu timeframe utama (HTF). Tujuannya bukan menambah aktivitas. Tujuannya mengurangi kesalahan yang bisa dihindari, sambil pengalaman terbentuk.
Kontrol Empire
Di HTF, identifikasi siapa yang memegang kontrol. Bull Empire atau Bear Empire.
Ini menentukan postur.
Instabil
Kuning berarti konflik & jebakan. Kurangi eksposur dan kurangi keputusan.
Clarity turun → aktivitas turun.
Reset
Merah berarti kondisi berubah. Pause, lalu bangun ulang konteks sebelum re-engage.
Asumsi lama bisa tidak berlaku.
Aturan inti (Mode Bertahan)
Mode 2
Mode Timing
Opsional. Detail ekstra lintas timeframe.
Opsional
Timing tidak wajib untuk aman
Jika Anda bertahan, Anda akan melihat instabil biasanya muncul di timeframe kecil dulu lalu naik. Ini detail tambahan. Jika detail ini membuat urgensi, kembali ke Mode Bertahan.
Bahasa LTF
Instabil LTF = Tension. Reset LTF = Uprising.
Bahasa MTF
Instabil MTF = Unrest. Reset MTF = Rebellion.
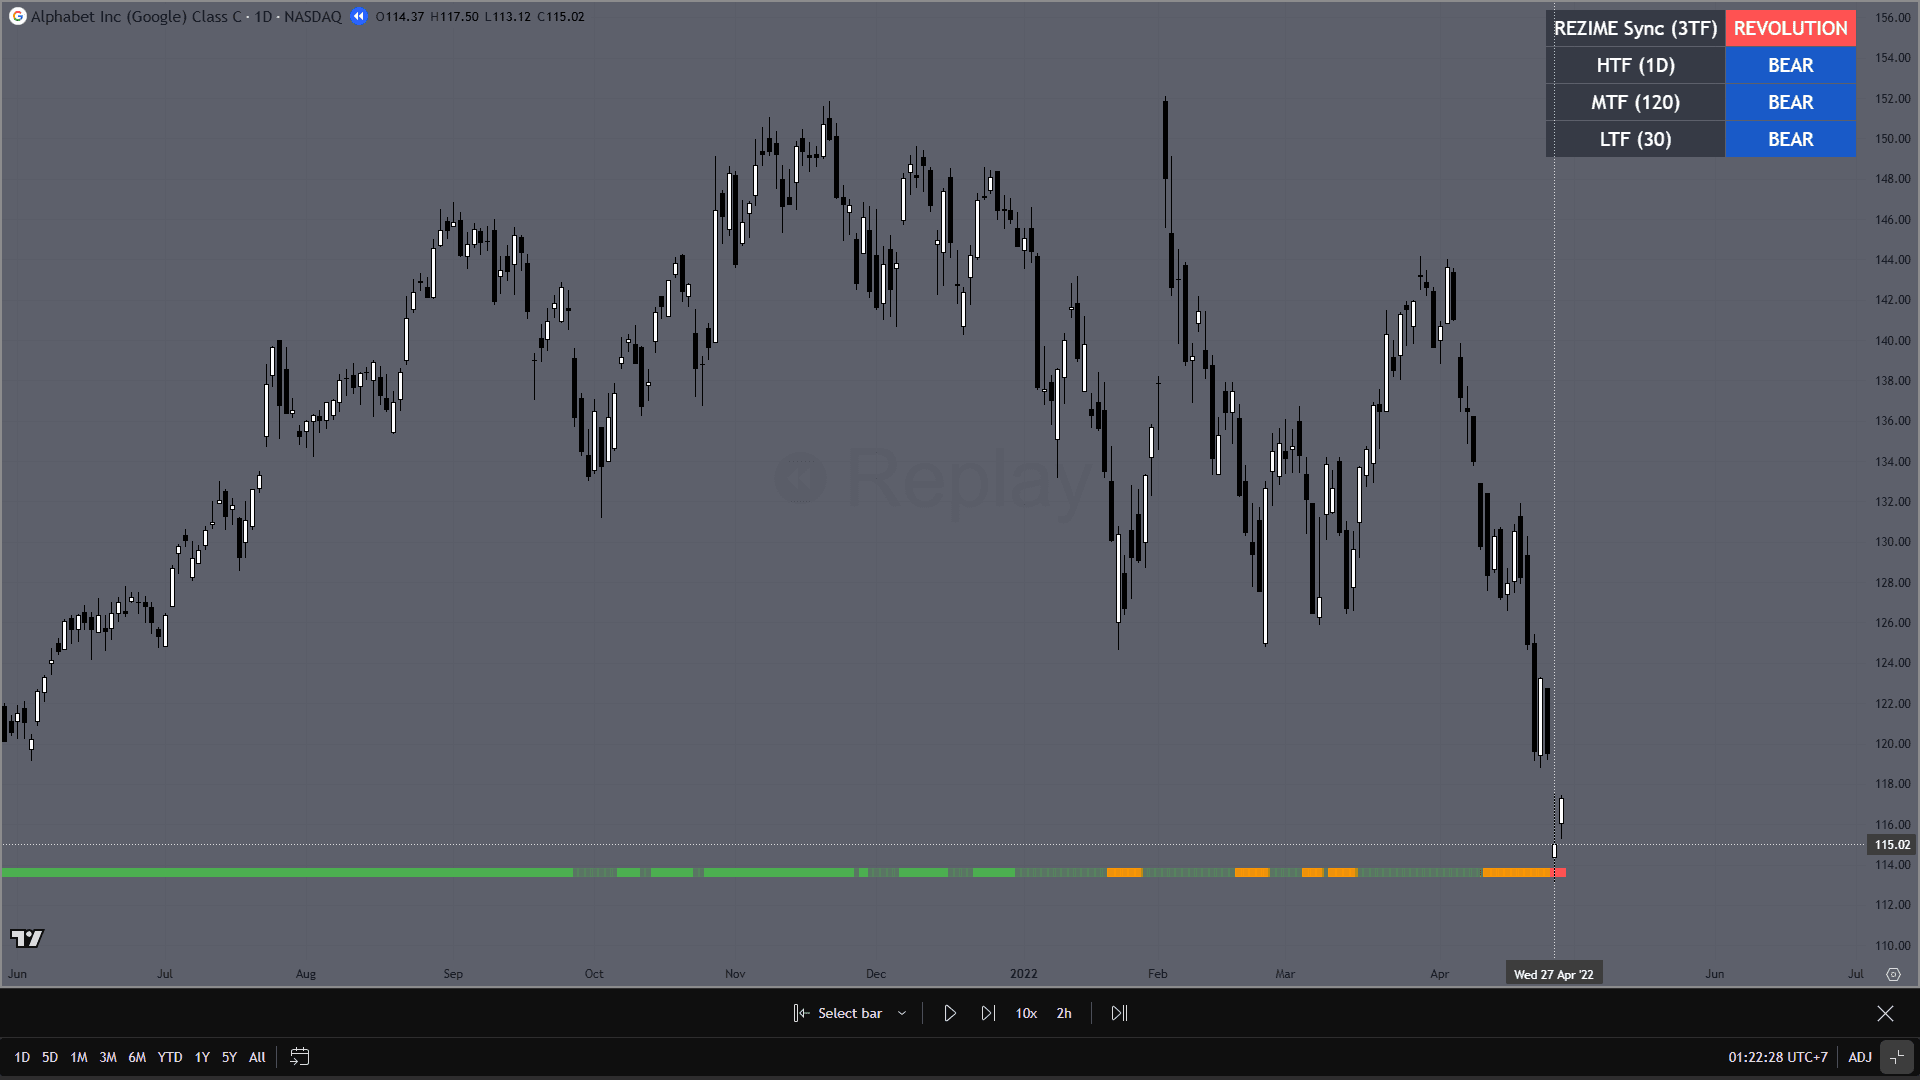
Bahasa HTF
Instabil HTF = Siege. Reset HTF = Revolution.
Rantai eskalasi
Saat HTF mencapai Revolution, perlakukan sebagai reset. Bangun ulang “tesis Empire” sebelum membawa risiko lagi.
Panduan warna strip
Warna mengklasifikasikan kondisi. Bukan pemicu tindakan.
demo strip
Netral
Struktur belum jelas. Perlakukan sebagai partisipasi berkepercayaan rendah.
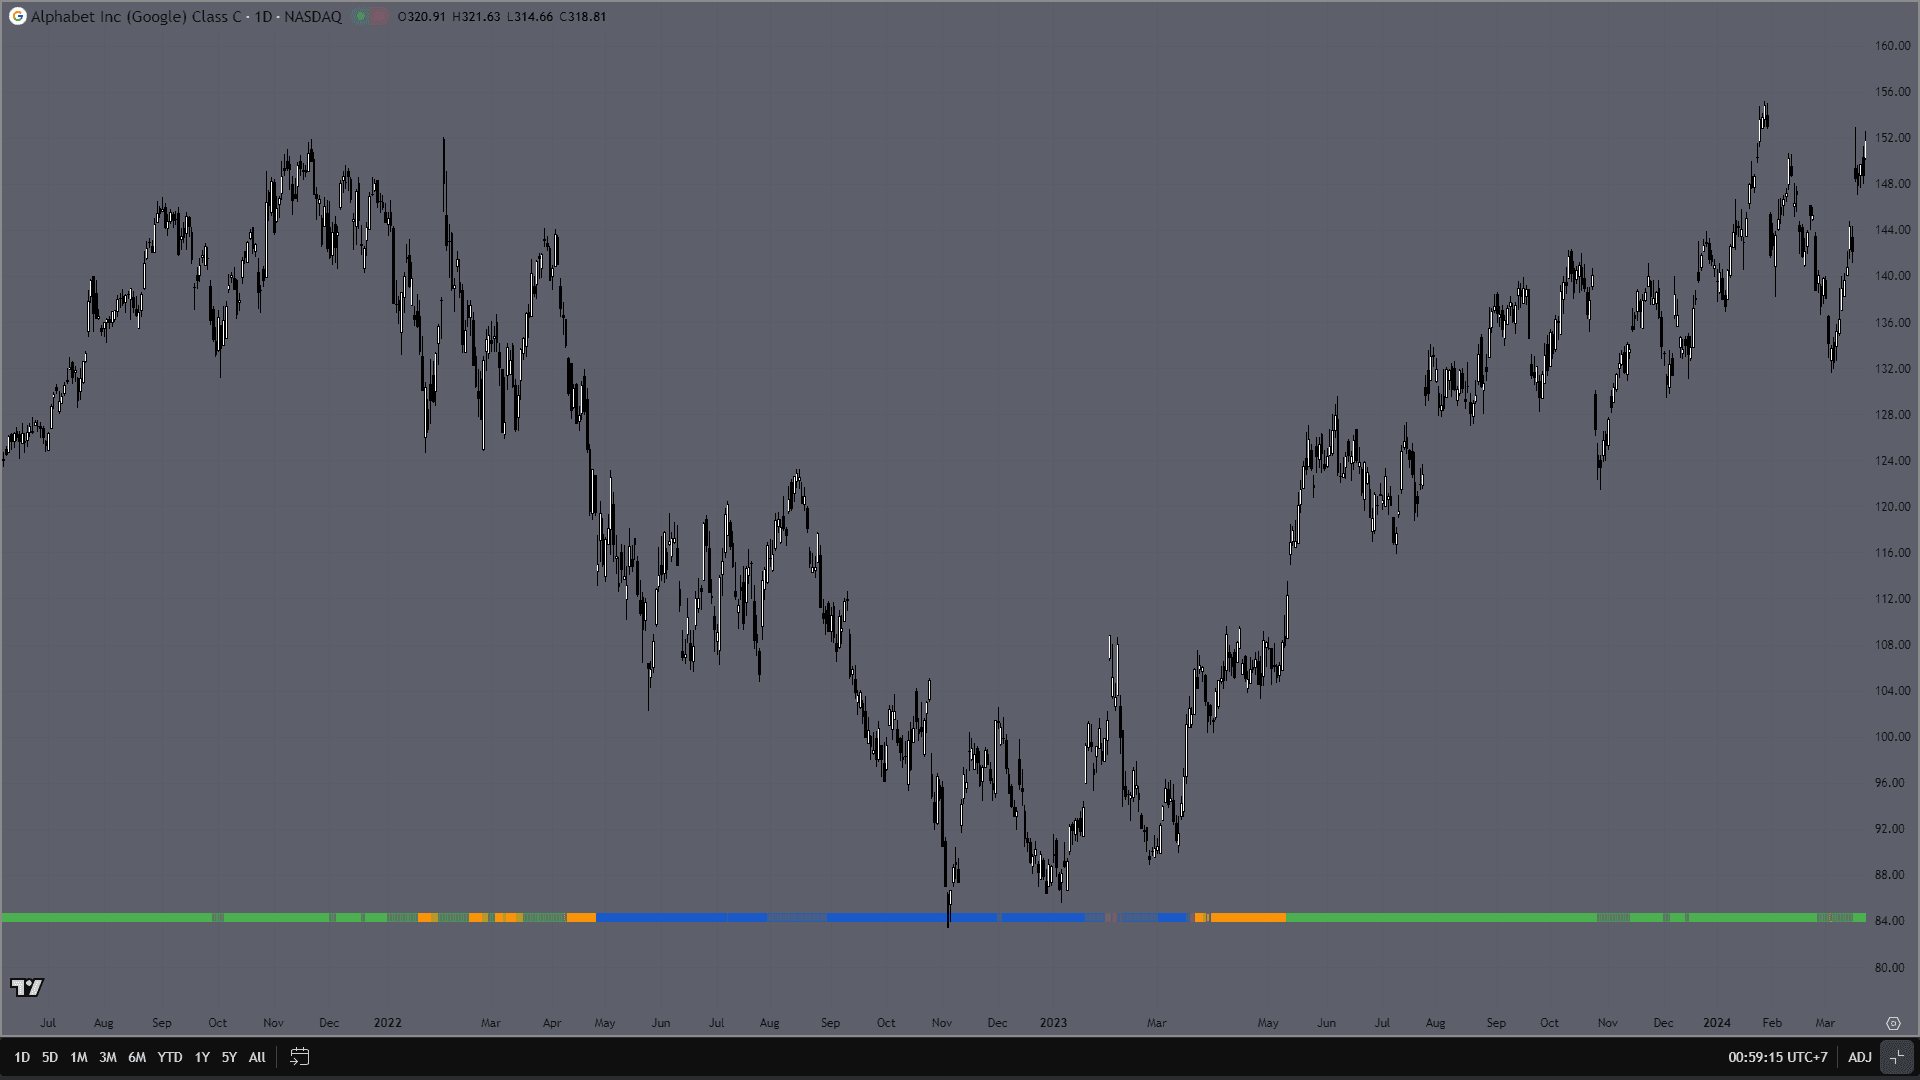
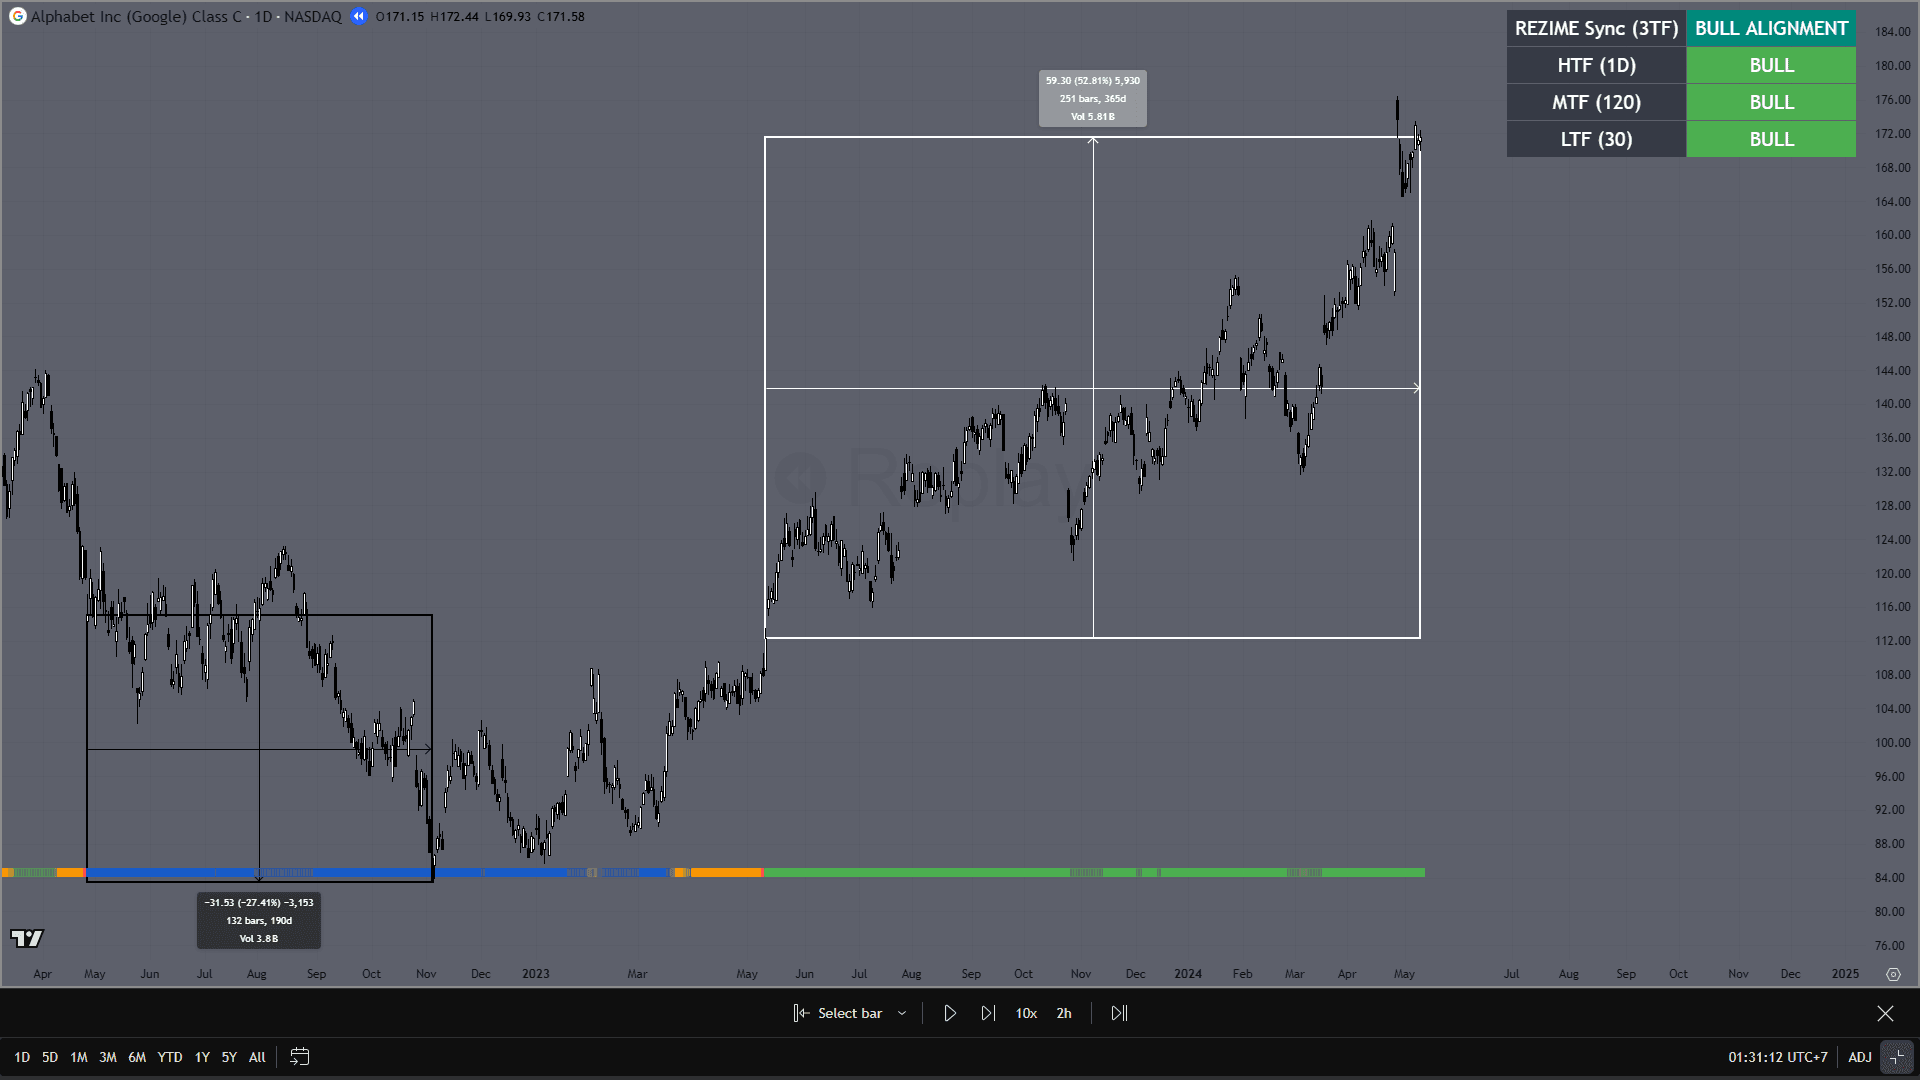
Kontrol Empire (Hijau / Biru)
Satu Empire memegang kontrol. Hijau = Bull Empire. Biru = Bear Empire.
Instabil (Kuning)
Konflik & jebakan. Kurangi eksposur dan kurangi keputusan.
Reset (Merah)
Asumsi berubah. Bangun ulang konteks sebelum re-engage.
Jika cerita bentrok antar timeframe, perlakukan sebagai kepercayaan rendah. Kecilkan aktivitas atau pause.
Cara pakai
Aturan membaca
Aturan ini mengatur postur dan kepercayaan. Bukan instruksi tindakan.
Aturan yang mengatur perilaku
Cepat dipindai. Sulit disalahpahami.
Rule 1: Mode Bertahan adalah default
Mulai dari HTF saja. Hormati Instabil dan Reset. Bertahan cukup lama sampai judgement terbentuk.
Rule 2: Mode Timing itu opsional
Detail multi-timeframe tidak wajib untuk aman. Jika membuat urgensi, buang detailnya.
Rule 3: Instabil = kepercayaan turun
Konflik menurunkan reliabilitas. Instabil adalah label peringatan, bukan perintah untuk bertindak.
Rule 4: Kepercayaan turun = aktivitas turun
Keputusan lebih sedikit, kriteria lebih ketat, partisipasi lebih kecil. Tenang mengalahkan cepat.
Rule 5: Reset mengubah asumsi
Saat kondisi berubah, pause dan bangun ulang konteks sebelum re-engage.
REZIME dirancang supaya waktu di pasar bisa survivable — agar pengalaman punya waktu untuk berubah menjadi intuisi.
Walkthrough
Cara sederhana membaca satu siklus
Bukan soal menebak bottom. Tapi menghindari kondisi hostile dan re-engage saat struktur lebih bersih.
Sebelum keputusan apa pun, tanya satu hal: apakah kondisinya cukup stabil untuk membawa risiko. Jika kuning, aktivitas mengecil. Jika merah, Anda pause.
Saat struktur hostile, tujuan bukan jadi pintar. Tujuan adalah menghindari eksposur yang mengubah gerak normal menjadi drawdown yang dalam.
Saat kondisi menjadi lebih bersih, perilaku jadi lebih mudah. Lebih mudah hold, lebih sulit panik. Di sini pasar mulai terasa normal.
Apa yang dibuktikan walkthrough ini
Berikutnya: Penerapan
Portfolio Lab adalah arsip berbasis waktu. Konteks dan postur dicatat, minggu demi minggu.
Dokumentasi edukasi saja. Bukan nasihat finansial. Bukan sinyal. Bukan prediksi. Tidak ada jaminan.